Search This Blog

Thursday, July 25, 2013

HOW TO: Roast Garlic

Roasting garlic is easy, and makes the garlic sweeter, softer and just that much more amazing in any dish. Add it to mashed potatoes, put it in pasta sauces, on pizza crusts, in soups or even just spread it on toasted bread... yum!
So lets do it!

STEP ONE:
Use a whole head of garlic and cut off the top just to leave leave the garlic exposed, remove a couple of the outer layers, and drizzle on a tablespoon of extra virgin olive oil.


STEP TWO:
Wrap in foil, and place in oven at 375 for about an hour.
If you would like to make more than one head, then place them all in a pan and cover entire pan with foil.  Remove when you smell that beautiful sweet garlic flavor and each clove is soft.

STEP FOUR:
Wait till completely cool and with a small cocktail fork or knife gently remove each clove from the skin. 
Now be creative! 


Sunday, July 21, 2013

RECIPE: Drunken Onion Rings


After hours of research and dozens of experiments in my kitchen, I have finally figured out the perfect Beer Battered Onion Ring recipe for crispy golden rings of deliciousness. The secret? TWO types of alcohol (hence the title "Drunken" Onion Rings). The Vodka helps create a crispy exterior while the beer gives the batter a light airy texture! Whoever said mixing alcohol didn't work was obviously mistaken..

INGREDIENTS
- Large Yellow Onions
- Sadaf Grapeed Oil 
- 1 cup All Purpose Flour
- 1 cup Beer (8oz)
- 1 shot of Vodka
- a pinch of Cayenne Pepper
- A tablespoon of Paprika


STEP ONE:
Peel and cut the onions into 1/2 inch thick slices. Separate the rings and place into a bowl. Sprinkle with flour.
STEP TWO
In a separate bowl add the one cup of flour, paprika, cayenne, beer and vodka and whisk until smooth.
Then pour batter straight into the bowl of onions and mix until evenly coated.
If the batter is too thick, use a little bit of water to thin it out; if the batter is too thin, whisk in a little more flour.

STEP 3
Heat the oil to 375 degrees or until the oil is glistening and has small ripples. Use tongs to grasp the onion ring, shake off any excess and place into the hot oil.
A trick is to drop in a small one just to test the waters and see if its hot enough. Flip when golden brown (about 30 seconds)
WARNING: DO NOT just plop the onion rings in there, the higher you drop it from, the bigger the splash!
Do not place in too many onion rings at the same time, this will over crowd the pan and stick some rings together, drop the temperature and create underpar rings. Thats a no-no.

STEP FOUR:
Place rings on paper towels to absorb the liquid, and then devour.  


Tuesday, June 25, 2013

HOW TO: Chocolate Covered Strawberries


Actually my favorite desert in the world, Chocolate Covered Strawberries!
So why pay like $8 for one at a store, that has probably been sitting there for awhile when you can make it at home and be able to lick the melted chocolate spatula afterwards! Win-win!
So lets begin

INGREDIENTS:
- Dark Chocolate
- Strawberries

I know I know, its a whole shopping list, so many ingredients.. my apologies! But seriously, you need DARK chocolate! Milk chocolate doesn't melt very well, and dark chocolate compliments strawberries much better anyways.
 So lets get started!

STEP ONE:
Create your own double boiler! I know most of you don't actually have one, and it's not really logical to invest in one, so you can just make it yourself!
First you need a small pot, filled about half way with water, and a metal bowl that can sit on top of it comfortably. Simple!
Now get the water boiling!
STEP TWO:
Wash and thoroughly dry the strawberries (if they are wet, the chocolate wont stick and you'll end up with watery chocolate.. not good) and cut the chocolate into small chunks for easier/faster melting.
Once the water is boiling, add the chocolate to the bowl. Make sure you dont spread around the chocolate too much, you need a nice puddle in the middle to dip the strawberries in!

STEP THREE:
Once the chocolate is throughly melted, using the stem of the strawberry, gently dip and maneuver the strawberry around the chocolate to get a nice even coat all around. 
  
 
Get creative!


STEP FOUR:
Line up the strawberries on parchment paper and place in fridge until chocolate hardens.

And viola! It's that simple! Now if you have extra melted chocolate.. well you know what to do..
(I like having my strawberries with the hot melted chocolate, even before it dries! yum.)

Tuesday, June 18, 2013

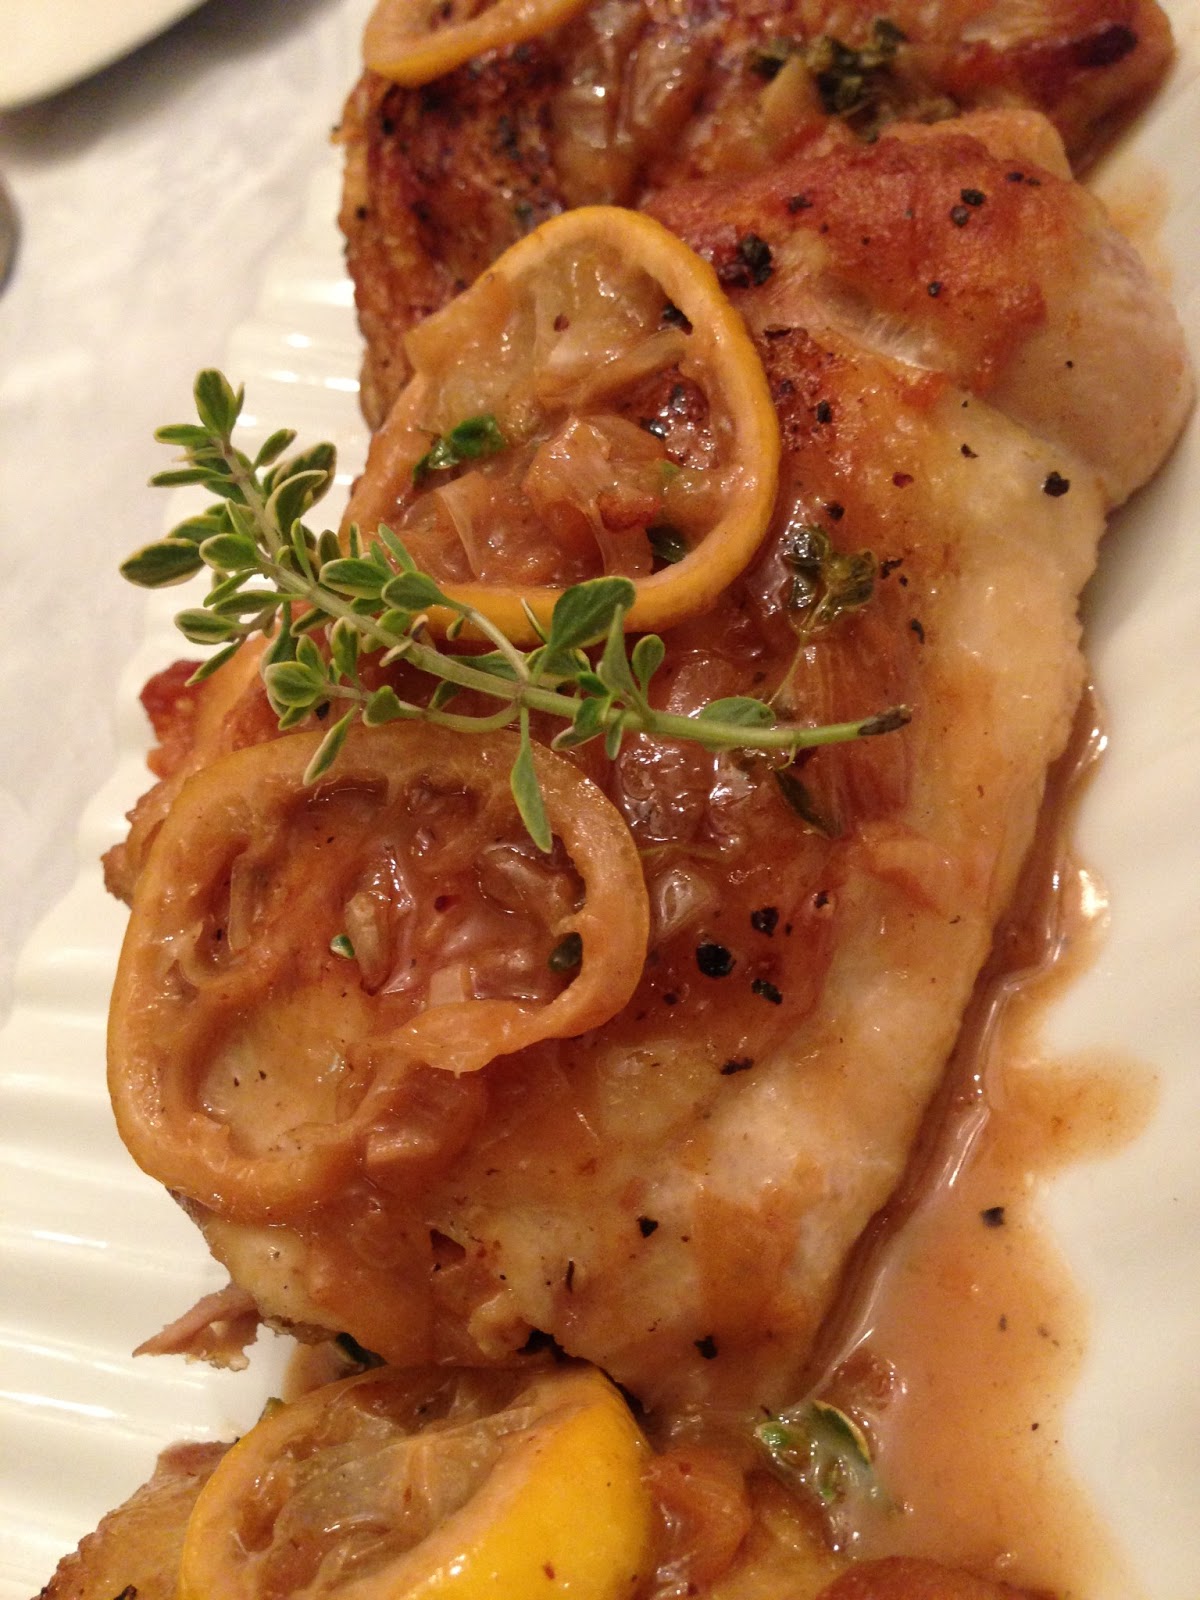
RECIPE: Roasted Chicken Thighs with White Wine, Lemon, & Thyme

This recipe is one of my favorites! The chicken is juicy, the skin is crispy and the sauce is delicious!
Uses both stove and the oven so a pan that can go in the oven is needed for this recipe!

NEED:
- Chicken thighs-with skin
- Lemons
- Fresh Thyme
- Dry White Wine
- Onion- diced
- Garlic- minced
- Grapeseed Oil
- Fresh Cracked Pepper

STEP ONE:
We are going to be using chicken thighs with the skin. This makes the chicken juicy and crispy at the same time, and oh so delicious.
Wash, pat dry, and sprinkle fresh cracked pepper onto the chicken, not salt! Adding salt right now will draw out moisture and your skin wont be crispy!


STEP TWO:
Heat up your pan on HIGH, and add Grapeseed Oil, (high smoke point and light flavor), once sizzling hott, add the chicken thighs skin side down! Do not move it! I know it's hard, but do not touch them, let them create a beautiful crust- you might want to open a window! 
- this would be the time to sprinkle a bit of salt

STEP THREE:
Use tongs to carefully check the color on the skin, once it is brown and crispy, place entire pan in the oven at 375 for 20 minutes or until the internal temperature is at 165 (use a thermometer)!
Once ready, take the chicken out of the pan (don't forget its hot!) and place skin side up on a wire rack to remove excess fat (I dont have one so I got creative with a slitted pan on top of another pan)
 KEEP THE JUICE OF THE CHICKEN IN THE PAN!
STEP FOUR: 
Make the sauce! Put the pan back on the stove on high, doesn't take long to heat back up, just a couple seconds, add the garlic and onions until soft. Add in fresh thyme, the juice of 1/2 a lemon, 1/4 c of dry white wine (lemon zest optional) and whisk! Also add in a couple slices of lemon and allow the sauce to thicken as well as the alcohol from the wine to evaporate!

This is not fully thickened, keep reducing until desired thickness is reached!
STEP FIVE:
Once thickened, pour over chicken and serve! 


Sunday, April 7, 2013

RECIPE: Nutella Hot Chocolate

For the past couple of days I have been sick in bed, overdosing on tea and tissues, with the biggest craving for some amazing hot chocolate. So what better thing to do then make it with nutella! And yes, it DOES taste as good as it sounds!


STEP ONE:
Assemble the Ingredients:
1 large cup of Milk
1-2 spoonfuls of Nutella
(Optional)Whipped Cream/ Coffee


STEP TWO:
Heat up 1/4 cup of milk on the stove on Med-Low heat. Add in spoonful of Nutella. (I put in two and it was way too sweet for me, so if you prefer it to be less sweet, add in only 1 spoonful)


STEP THREE:
Add in the rest of the milk and whisk until heated and frothy.


STEP FOUR:
Add in optional ingredients: 1-2 shots of coffee and top with Whipped Cream!


Enjoy!


Blogging tips